

- Camera: Nikon D600 with 24-70 2.8 Nikkor lens
- Settings: ISO: 100, F 16, 1/160 exposure.
- Main Light: Norman 800 D powerpack with a single head, 1/2 power output.
- Light Modifier: Flash bounced into a Westcott 72" satin umbrella. I used two light stands: One for the umbrella and one for the Norman head.
- Highlights: Lastolite EZ Box on a light stand aimed down at the backs of the subjects. Flash was a Flashpoint Li-On flash in the manual slave mode.
- Fill Light: On the floor, an SB-900 shot through a Zumbrella.
- Camera mounted on a tripod to insure consistent framing.

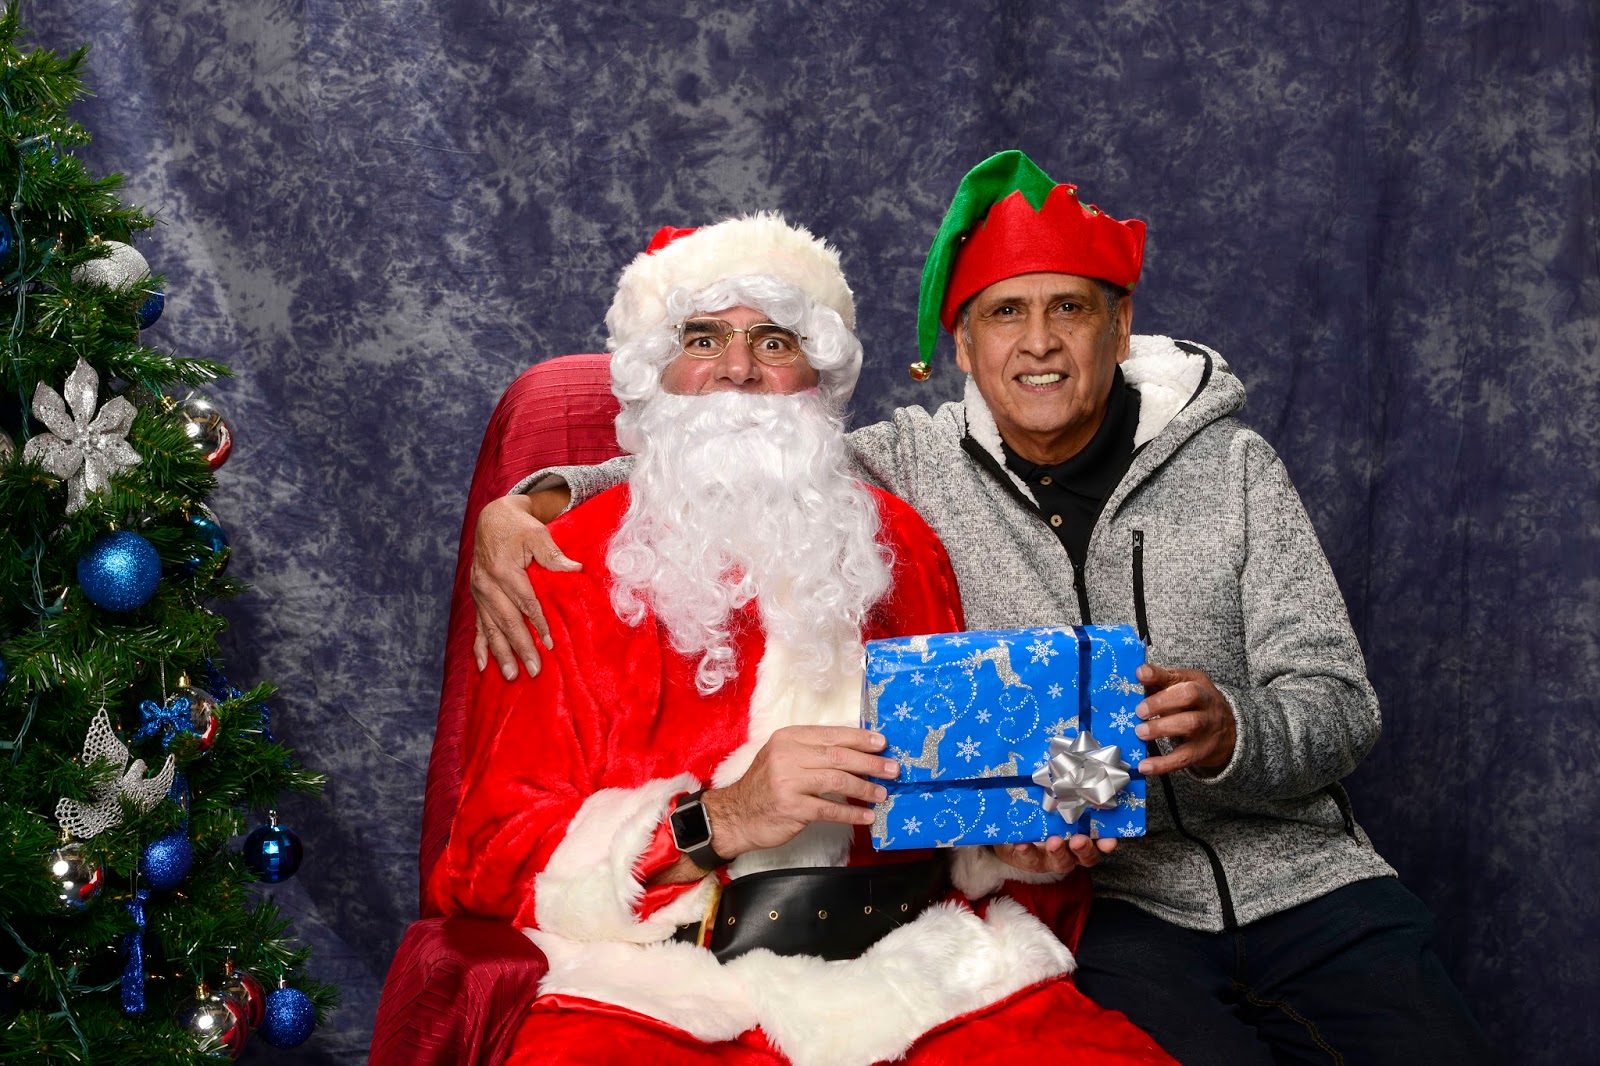
- When a subject came started to sit, my assistant would use her foot to prevent the chair from rolling backwards.
- My assistant then position the subject's left hand on the faux gift that Santa was "presenting". By pre-arrangement, both of Santa's hands could be seen presenting the gift.
- The subject's right hand was then placed on Santa' shoulder, which tighten up the composition.
- As soon as I started to count "one, two, three", my assistant would step out of the frame.
- When the shot was made (It's hard to not notice the "pop" of an 800 watt-second flash), my assistant had the subject wait until I decided that the photo was a keeper. Once again, the stool was kept from rolling as the subject left the set.

Glare: On eliminating glare, David Hobby tells a wonderful story about a photographer in China who as a box of 40 pairs of glasses frames minus the lenses. When he gets ready to shoot a large group, he asks everyone to pocket their own specs and choose a pair of frames from the box. To quote Mr. Hobby: "That's a line you want to be in the front of."

 Work Flow: With this many photos, editing becomes a major chore. Even if I stay within my personal goal of five minutes per photo, it means that 1,450 minutes would be devoted to my normal retouches unless I did something to streamline the process. Added to this was the second catchlight created by my fill light. Editing them all out would create a lot of additional work, and after stumbling over the first few images, I settled on the following sequence of edits that included the catchlight edit.
- Cropping: The first step is to crop the image to my standard, 8" x 12" x300 dpi. This yields an image that is much easier to handle than the 24 megapixel files (compressed) JPG files created by the Nikon.
- Levels: I'll use Levels to adjust the midtone values, if necessary. In this session, the midtone value was raised from 1.0 to 1.2. By adjusting the midtone exposure in post (processing), I prevent the highlights from burning out, as they have if I increased my exposure settings.
- Clone Lighten: The next step is to lighten the contours below the eye. I normally set my clone tool to Lighten and 30% Opacity. After setting the source point to a suitable area on the highlighted cheek, I make one quick swipe for each eye.
- Brush Tool: I set this to Darken and 30% Opacity. By setting my source point to a midtone value, I can "paint" out the specular highlights on the nose, forehead, and cheeks. I start with the smallest highlight (tip of nose), then move to the two cheek highlights, and end with the forehead, always going from smallest to largest, changing the brush size as I go. On my next photo, I'll start with the largest highlight (forehead) and end with the nose. This saves a few seconds, which can start to add up after a few dozen such edits.
- Spot Healing Brush Tool: I set the brush size to match the secondary catchlight in the eye. One click and it's gone.
- Whitening Teeth (optional): If the subjects teeth are noticeable stained, I decrease and/or brighten the yellow channel. In a nutshell, you select the teeth, and desaturate and lighten the yellow channel to get a more pleasing color. Don't overdo the desaturation part - you need a tiny bit of yellow or it won't look real.
- Blemishes (optional): It there was a blemish that was not a permanent facial feature, I might use the Spot Healing Brush to eliminate it.
- Save The File: When completed, I'd save the file with the added suffix "8x12x300" to both remind me that the image had be adjusted, and that it had a 1.5 aspect ratio.

