
Sunday, November 23, 2014

Nothin' But Blue Skies...


Photo #1

Photo #2
In my last post, you were introduced to a complimentary white balance and corrective gel pair that could be used to create some unusual color effects. In that post I demonstrated how the combination of a 30M lens filter and a “Full Green” correction gel can yield a magenta toned sky with  normal flesh tones. If you look at the illustration (Photo #1), you can see the filter/flash pairing of the filter and corresponding gelled flash at the top. I use the term “normal” with the admission that some color adjustment in post processing may be required to produce an acceptable image (Photo #2). I gave credit to Joe McNally in the last post, and will here paraphrase the explanation he gave in his book, "The Moment It Clicks". To wit: When photographing in mixed light sources, concentrate on the skin tones. In his example, the room had a variety of light sources, but chose 30M/Full Green combination for a reasonable rendition of flesh tones illuminated by the speedlight, and a close match to the room's ambient florescent lighting. The little existing daylight and incandescent lighting was thrown under the proverbial bus.

Photo #3
For this second variation (Photo #3), my goal was a twilight sky rendered deep blue. In this case, the coupled pair would have been an 80a filter and the CTO (aka Color Temperature Orange) correction gel on the flash, as seen in the lower half of Photo #1. Had I been using daylight film 30 years ago, I would have gone with this filter and gel combination. Today, I simply used the camera's Incandescent White Balance Preset instead.

Both of the full Green and CTO filtration were/are available as acetate gels for the Nikon SB-800, and as plastic snap-on filters for the SB-700 and SB-910. The SB-900 was designed to use an acetate gel mounted in a clear snap-on holder. But when I learned that the SB-910 snap-on incandescent and fluorescent filters fit the SB-900, I bought several sets.

Just a quick reminder: Full Green filtration converts a daylight balanced light source (your flash) to a simulated fluorescent lightsource, and the CTO converts a daylight source to ""incandescent". This can be a slippery slope, because there are several interpretations of the proper color of an incandescent light source, each with a tint on the redness scale. To quickly summarize, "redness" is measured in Kelvin degrees, and the higher the degree level, the bluer the tint. For example: There is the endangered incandescent light bulb (2700-3300 degrees Kelvin), the Type A (movie) Photoflood (3400 degrees Kelvin), and the Type B Photoflood (3200 degrees Kelvin). Daylight is usually pegged at around 5600 Kelvin degrees.
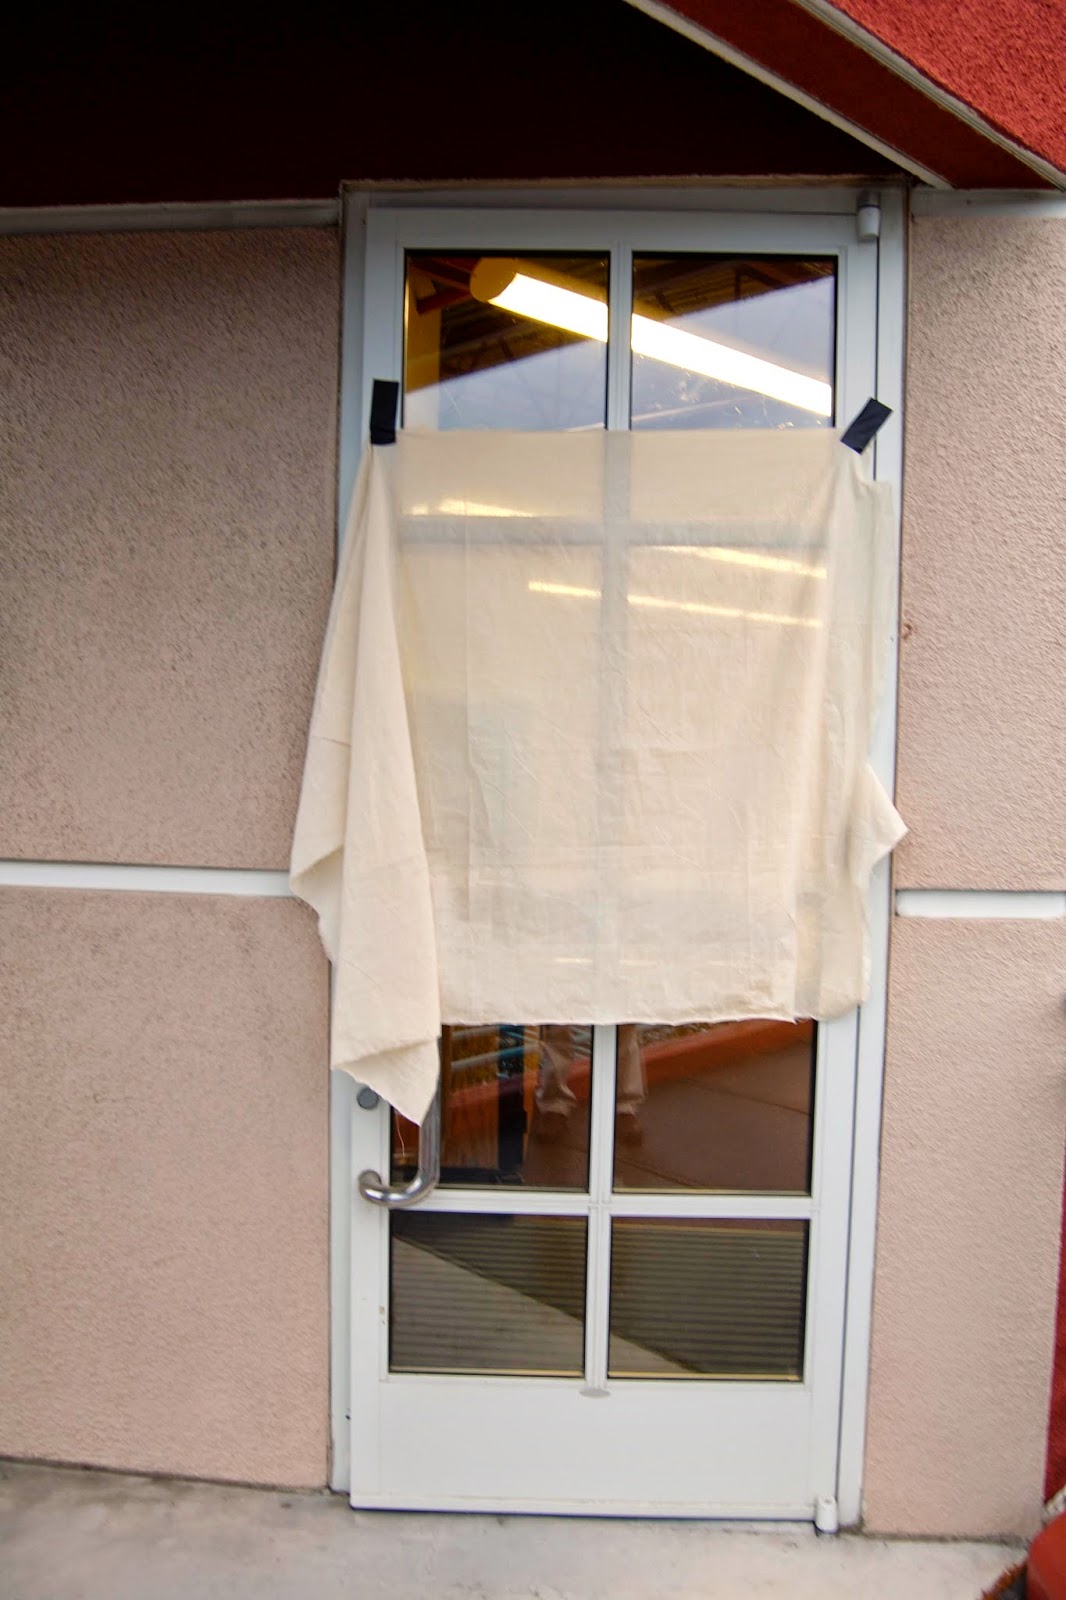
Photo #4
Improvised Bounce Surface: I had planned on making a quick outdoor shot using on-camera bounced flash, and to take advantage of the drizzly evening sky. Since the alcove outside of my office building is painted a pale shade of pink, light bounced of the exterior would give the subject a definite red tint. To remedy this, I gaffer taped a piece of unbleached muslin, a readily obtainable fabric, to a glass door for use as a bounce surface. The pale beige color gives the bounced light a bit of warmth which never hurts when photographing people.  You can see the muslin taped to the door here in Photo #4.
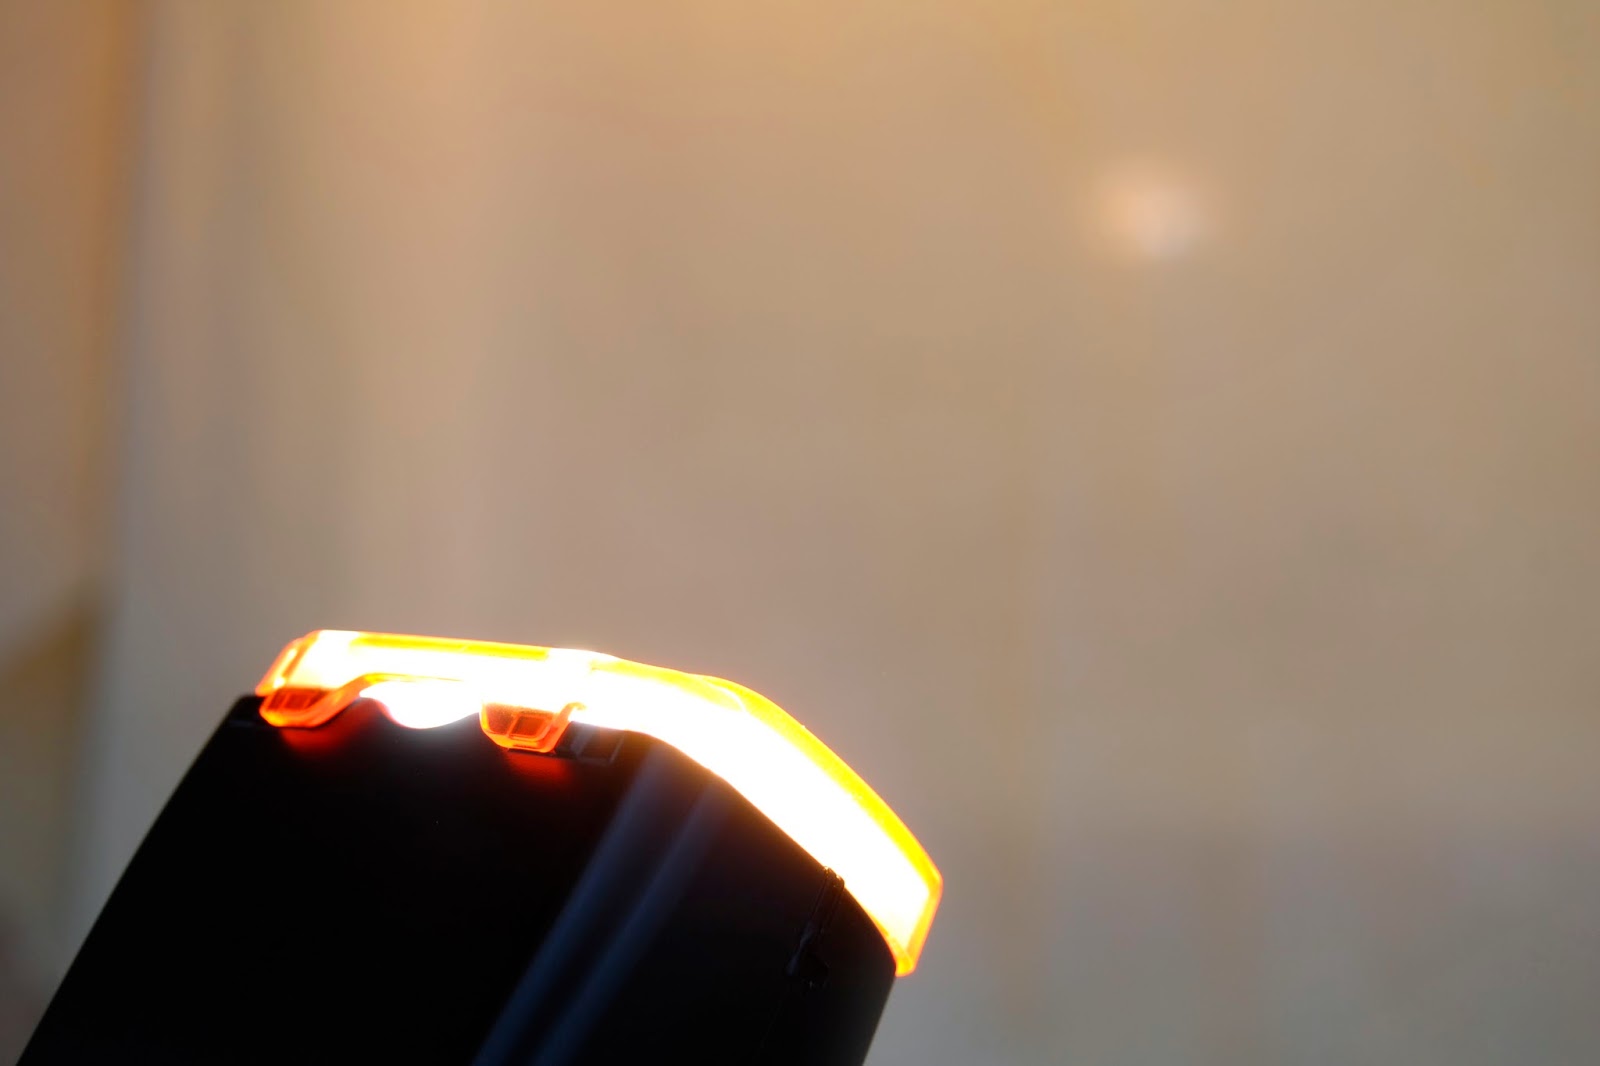
Photo #5
I decided to try an angled on-camera bounce flash instead of my normal “point to the rear” selfie lighting. Because the flash head was set at an angle, raw direct light will often spill from the edges of the flash head, or in this case, from the edges of the filter, as you can see in Photo #5. The speedlight is aimed at the muslin at same angle it would be when I actually made the photo. The quick fix was to improvise a “gobo” (GO Between Optics). Gobos can be anything that goes between the light source and the camera. 
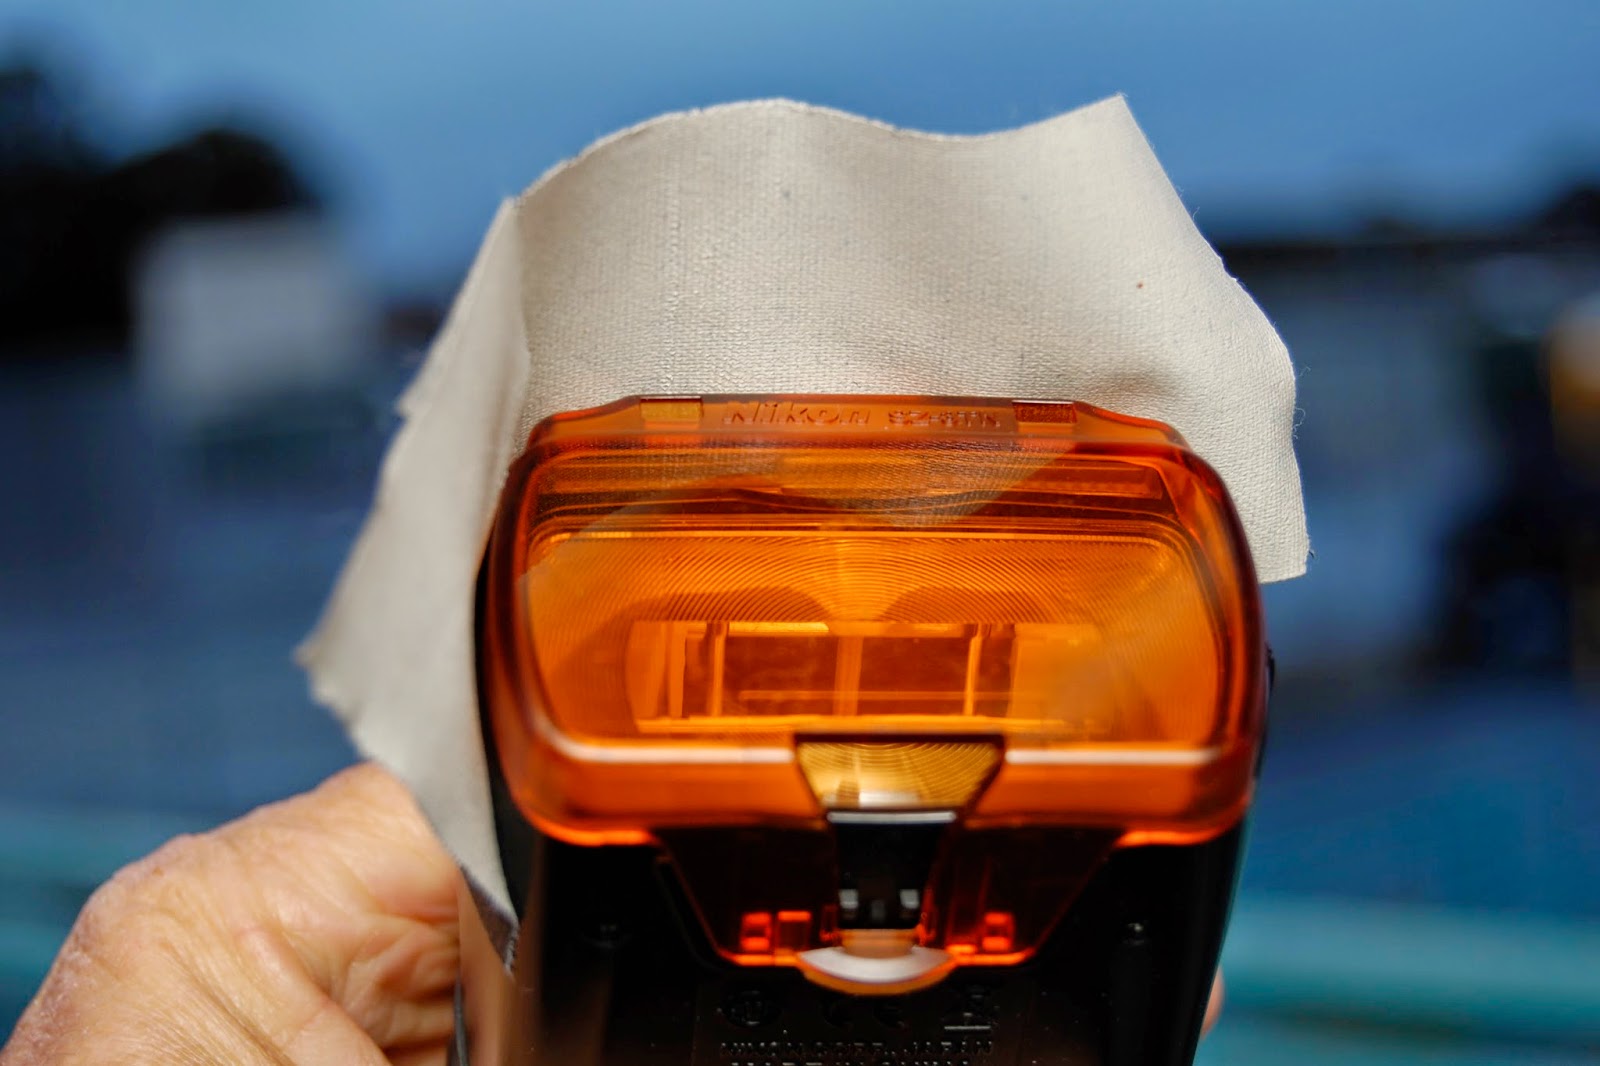
Photo #6
You can see in Photo #6 that I made a shade with wide gaffer tape. It covers the two surfaces that could be seen from by the subject, and therefore might have an effect on the final photograph. In Photo #7, you can see that it prevented any direct light from spilling onto the subject. Notice that direct light no longer "leaks" onto the subject which allows the subject to enjoy the uniform warmth of the fabric. The tiny hot spot in the middle is the reflection of the flash from the glass behind the muslin, which has no impact on the image itself. Now I could have covered the window with cardboard to prevent the reflection, but that's going TOO far.
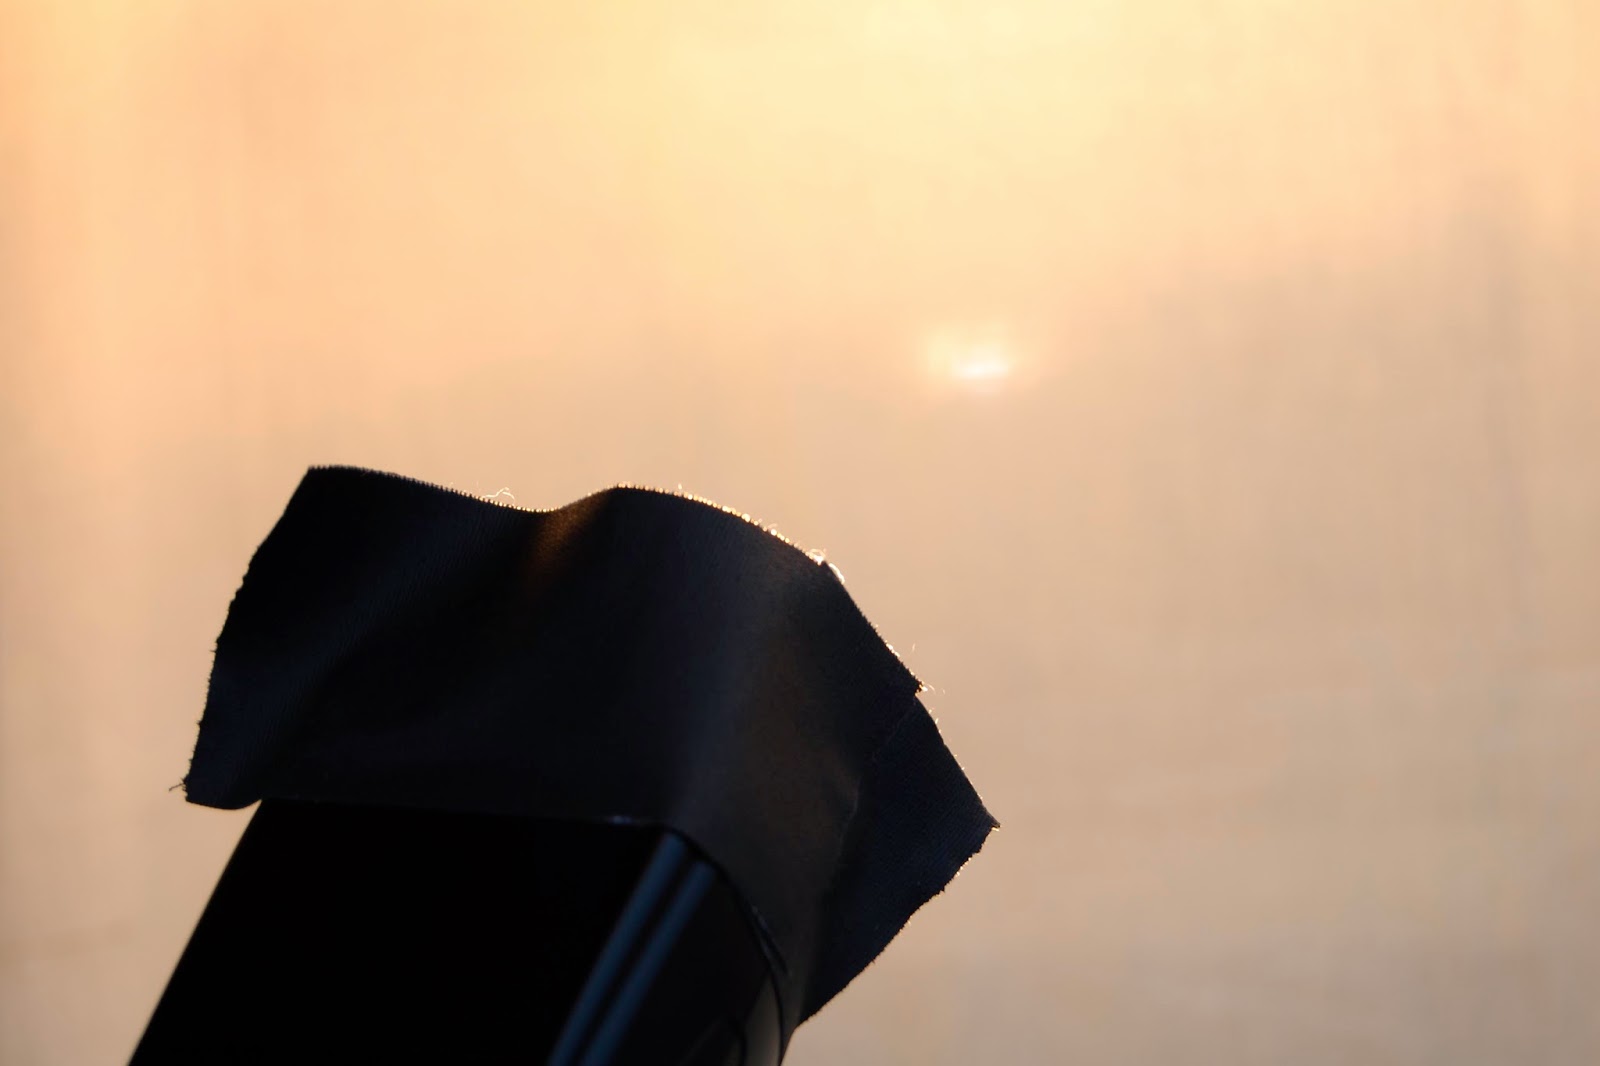
Photo #7
The havoc caused by light leaks, along with the gaffer tape gobo remedy, we in part inspired by Joe McNally. The normal response might be, "That little bit of light won't make any difference to the final image." Maybe so, but hard light, like the wink of light from an infra red trigger, can create tiny, annoying highlights that may just appear where you least expect them.

This choosing of complimentary white balance settings and flash mounted filters and gels can be carried even further. Cokin, the filter people, once made complimentary flash/camera filters combinations to create some "far out" color effects. I've never seen such a pair for sale, but found them in a product list of a 20 year old filter set found in a second hand store. And photographer and impresario Gary Fong crated a You Tube video on using  his Collapsible Cloud Dome and the accessory filter set to create some startling effects.

With one last look at our hero, I leave you with some advice. Photoshop could probably be used to simulate these lighting effects, but more consistent results can be achieved when doing it "in camera". With careful planning and a judicious use of your camera's white balance settings and the two gel filters you should have gotten with your Nikon speedlight, you can go a long way in creating images that will inspire questions like, "How did you do that?" Granted, blue skies are not that unusual, but it does have an ethereal feeling, even if the subject does not.

Sunday, November 16, 2014

Infrared Flash Triggers

Photo #1
Long Ago, In A Galaxy Far, Far Away...Optical slaves triggered by Infra Red (IR) triggers were the working person's answer to trigger multiple flashes. The "slaves" were photo sensitive devices that connected to flash via the hot shoe, an auxiliary PC connector (Nikon), or a dedicated interface (Vivitar), and would fire the flash whenever there was a sudden change in the lighting. This could be a camera mounted speedlight which served as the "master". Politically correct photographers replaced the master/slave terminology to controller/remote, but you get the idea. While a standard flash could be used, IR filtered flashes became the better alternative because their output (usually) wasn't bright enough to affect the overall exposure of the photograph.

IR Options: I pulled the following samples from my equipment closet and found, from left to right: The Nikon SG-3 IR (Infra Red) Panel, the Wein Sync-Link Flash Trigger, and the (discontinued) Nikon SB-50 Speedlight with the IR filter Attachment (Photo #1).
  • The Nikon SG-3 slips into the hot shoe and the IR shield flipped down to cover the built-in flash. Synchronization speed is limited by the camera, so Nikon D70 users top out at 1/500 of a second.
  • The Wein Sync-Link acts like a tiny speedlight (it takes only two AA batteries) and because it does not have the Speedlight Present (SP)contact, it will fire at any speed. I've done some samples at 1/4000 of a second where the limiting factor was the remote speedlight's flash duration, and not that of the Sync-Link itself. And because it functions like a tiny flash, it is subject to lengthening recycle times as the two AA batteries start to lose their juice.
  • The Nikon SB-50 comes with a detachable Infra Red panel that blocks most of the visible light, leaving a red wavelengths to trigger the remote flash units. When used with the MPEX Universal Translator, one could theoretically access any reasonable shutter speed. However, I noticed that the light fell off severely at speeds higher than 1/800 of a second, so I'd consider that the practical synchronization ceiling. Unlike the other two options, the flash head can be rotated to a straight up position, which could be an advantage if you have a ceiling to bounce from. Also, when the SB-50 is set to manual, it delivers a full dollop of light, resulting in depleted CR-123 batteries and increased recycle time, like it or not.
Photo #2
For this post, I started by making a series of selfies: first without glasses, and then with them. I used a Nikon D70 with the shutter speed set to 1/2000 of a second and an aperture of F 5.0 (Photo #2). The initial setup was with a Nikon SB-26 aimed toward the ceiling. A second light, a Nikon SB-800 directed towards some reflective foil placed on the floor, provided the fill from below. Both speedlights were set to the built-in SU-4 (optical slave) mode, and positioned in locations that were far away from the lens axis, resulting in a of photos with no glare. This first shot illustrates some rather deep shadows beneath the nose and chin, but you can see in a cropped closeup that there is indeed a catchlight. Of course, I look like I could use some sleep!

Photo #3
Glare spots on glasses are caused by light reflecting off the glass and into the lens. If you can position your light sources away from the lens axis you can eliminate, or at least minimize, any light bounce-back. This high light placement (overhead ceiling bounce) simulates the sort of light that might come from skylights in a large building, while the catchlights  suggest a shiny floor covering (Photo #3). You may notice a tiny red dot above my left eye. I'll get to that later.

Photo #4
This cropping from the first image (Photo #4) shows the catchlight from the light bouncing off of a piece of foil placed on the floor. You'll notice that it isn't a point light source, but rather a large shiny spot. The foil covered about three square feet. Had the reflector been larger and/or closer to my eyes, the catchlight would have been much larger.

Photo #5
There is one problem when using any of these IR triggers. Since the "master" light is usually aimed along the lens axis, there will be a reflection when you photograph shiny objects. While not visible in the selfie sans lunettes, it can be clearly seen in this shot (Photo #5, arrow). Sure, you can easily clone the spot out in post production, but you'll need to examine each image carefully, as glare spots may appear in parts of the photo you might have overlooked. You might be able to avoid this by using the SB-50 and pointing the head upwards, but that won't do much good if you're photographing outdoors.

Choices: So here are three available options. The cheapest is the Nikon SG-3, so long as you remember to configure your built-in flash to full manual output. Nikon D70 users will be limited to the native (1/500) top sync speed. The Wein Sync-Link is the most versatile, syncing at any speed. The SB-50 is comparable to the Wein, but I can be recommended its use if you already have (or can borrow) one along with its original IR filter. You will be stuck with 1/500 of a second unless you use a workaround of some sort. I certainly wouldn't recommend buying one because I don't think it's a particularly useful flash for the money.

Some Important Considerations: When going with the optical option, your carefully adjusted multi-speedlight setup can be triggered by any flash in the neighborhood, including those from cell phone cameras and point and shoots. This can drive you crazy in small rooms with lots of other cameras. In these environments radio controllers, or the Nikon iTTL Creative Lighting System commander options, work much better.


Power And Range: While I can't trigger a remote speedlight on Molokai (the earth's curvature gets in the way!) these IR units can be used a fair distances outdoors. For an informal test, I set up an SB-800 in the SU-4 mode on a lightstand in our outdoor parking lot. I set up three Nikon D70s, each with one of the three IR triggering options. On a cloudy bright morning, I was able to trigger the SB-800 at a distance of 25 feet using the SG-3 and the built-in flash, while the Wein and the SB-50 successfully triggered the flash at a distance of 35. Since the slaves respond to the sudden change in ambient light, they would become less sensitive in brighter lighting environments and more so in darker venues, allowing for decreased and increased working distances between the triggers and the remote flashes, respectively.

Photo #6
The MPEX Translator Hack Outdoors: I digress: For a final selfie, I put a 24mm prime lens on a D70 body, set the white balance to daylight and screwed a 30 Magenta filter onto the lens. An MPEX Translator and a 1/2 power manual Nikon SB-800 were mounted on the camera  and pointed away from me and toward the key light and would serve as my triggering flash. This combination gave me the all-speeds synchronization flexibility I would need. Key light was a Nikon SB-700 with a full green (fluorescent) filter attached and set to 1/2 power. The sky, tinted by the 30 M filter, took on a distinctive glow, while the speedlight with full green filter complimented the 30M filter on the lens to give the flash-lit foreground a normal color balance. Exposure information: Shutter set to 1/800th of a second, aperture set to  F 5.6, ISO at 200,  Daylight white balance preset with a 30 Magenta Filter mounted on the lens. The flash was clipped to a handy street sign using a Justin Clamp. The whole filter / white balance thing was a Joe McNally trick, dating back to his film days. I was pleasantly surprised (Photo #6) by the results!