The combination of the Fuji X-70 and the Q20ii proved to be a useful pairing when I photographed Carnaval in San Francisco. The two bits of kit fit neatly into a fanny pack, along with some extra batteries for the camera and the flash. I will be looking for a compact selfie stick, preferably one that will fit in the pack, in case I need a little more height.
Key Light: For this shot, the flash serves as the key light. The flash was held high overhead to provide some modeling on my subject. The subject is backlit, and the costume completely blocks any sunlight from reaching the face and body. The camera was at eye level, and the flash held overhead. Exposure was determned by trial and error. |
| 1/1000 second, F 5.6, ISO 400, Cloudy White Balance |
Simplified Guide Numbers: For the mathematically inclined, a Guide Number is assigned to a specific ISO sensitivity by the flash manufacturer. To determine the correct aperture, you would take the GN and divide it by the flash-to-subject distance. I decide to set the camera to the specific ISO / Shutter Speed / Aperture setting that will give me a proper exposure for the sky. For these trials, I choose ISO 400, 1/1000 of a second, and F 8.0 as my base exposure. Next, I stood ten feet from these Birds of Paradise flowers, and fired three shots: Full Power, Half Power, and Quarter Power. You can see the exposures here. In these samples the flowers receive no direct sunlight, although there is some illumination from the open sky.
From this tryptic you can see that at full power, the flash can barely achieve a proper exposure at ten feet. Moving up to five feet, you can see that at a quarter power, there's still plenty of light to achieve a good exposure.
Starting Point: One can conclude from this simple test that at a Subject To Flash (STF) distance of ten feet and the output set to Full Power, there is barely enough light to provide a proper exposure. When one changes the STF distance to five feet, the quarter power output setting is more than enough, if not a bit too much. Now all of this can be influenced by a number of factors. First, the photos were made in an area where the "floor" was dark and non-reflective. Taken on a concrete sidewalk, the light reflecting from the ground will add to the exposure. second, the leaves were dark to begin with, so exposures of fair-complexioned subjects may be a bit overexposed.
Output Control. On the Q20ii flash, output is adjusted by using an Increase and a Decrease button (lightened). The are easy to adjust by poking the desired button with my thumb, a quality shared with my gold standard Nikon SB-800. Now when I shoot, I adjust the output based on the STF distance, which is so much simpler.
Estimating Distance: Here are some simple methods for estimating distance:
- If you hold out your arms along your left-to-right axis, the distance between your outstretched index finger tips will be equal to you height.
- If you stand facing a wall and point your arm directly in front, the distance will be about 20% of your height.
Exposure Fine Tuning: Understand that when using a 28mm equivalent lens, I am working at relatively short distances. The upside is that small changes to the subject-to-flash distance can have a big effect on the exposure. Too bright? Hold the flash farther from the subject. Too dark? Move the flash closer. If you're using mirrorless camera and preview the image immediately after you make the photo, you can fine tune your exposure without taking your eye from the camera. Just tell your subject that you're going to make three exposures, so they don't leave before your satisfied with the results.
 |
Fuji X-70, 1/1000 second, F 8.0, ISO 400, supplemented by a FlashQii
|
|
Fill LIght: As you can see from the samples, an STF distance of ten feet is barely enough to properly illuminate a subject when your flash is the primary light source. However, at distances between ten and fifteen feet a full-power blast can provide a satisfactory amount of fill under the proper circumstances. Here, this dancer was already illuminated by sunlight coming from on high and camera left. The flash added light to the sun's, while boosting the existing, open-sky fill light. The dancer stands out from the background because she's brighter, thanks to that bit of flash fill. Grab shots can be lucky accidents, but "opportunity favors the prepared mind," so if you have a basic lighting strategy, those "accidents" can, more often than not, give you some very pleasing results.
Useful Additions: Since Carnaval, I added a few things to this compact kit. First, I added a small notebook and a pen, just in case. I also added two white 6" ball bungee cords I purchased from Amazon. I bought a bag of 50, which might seem excessive, but allow me to discard them, without remorse, if they start to get a little grody. Besides, this is Amazon, the Costco of on-line retailers. Of course you will be forced to buy more than you could possibly use. Bungee Jumping: Here is the FlashQ mounted on a light pole using two six-inch ball bungee cords looped together to get some additional length. I mounted the flash mounted upside-down so I could tilt the head downward if I need to redirect the light.
I'll follow up with a few selfies that show some of the unique capabilities of this small camera and this smaller flash.
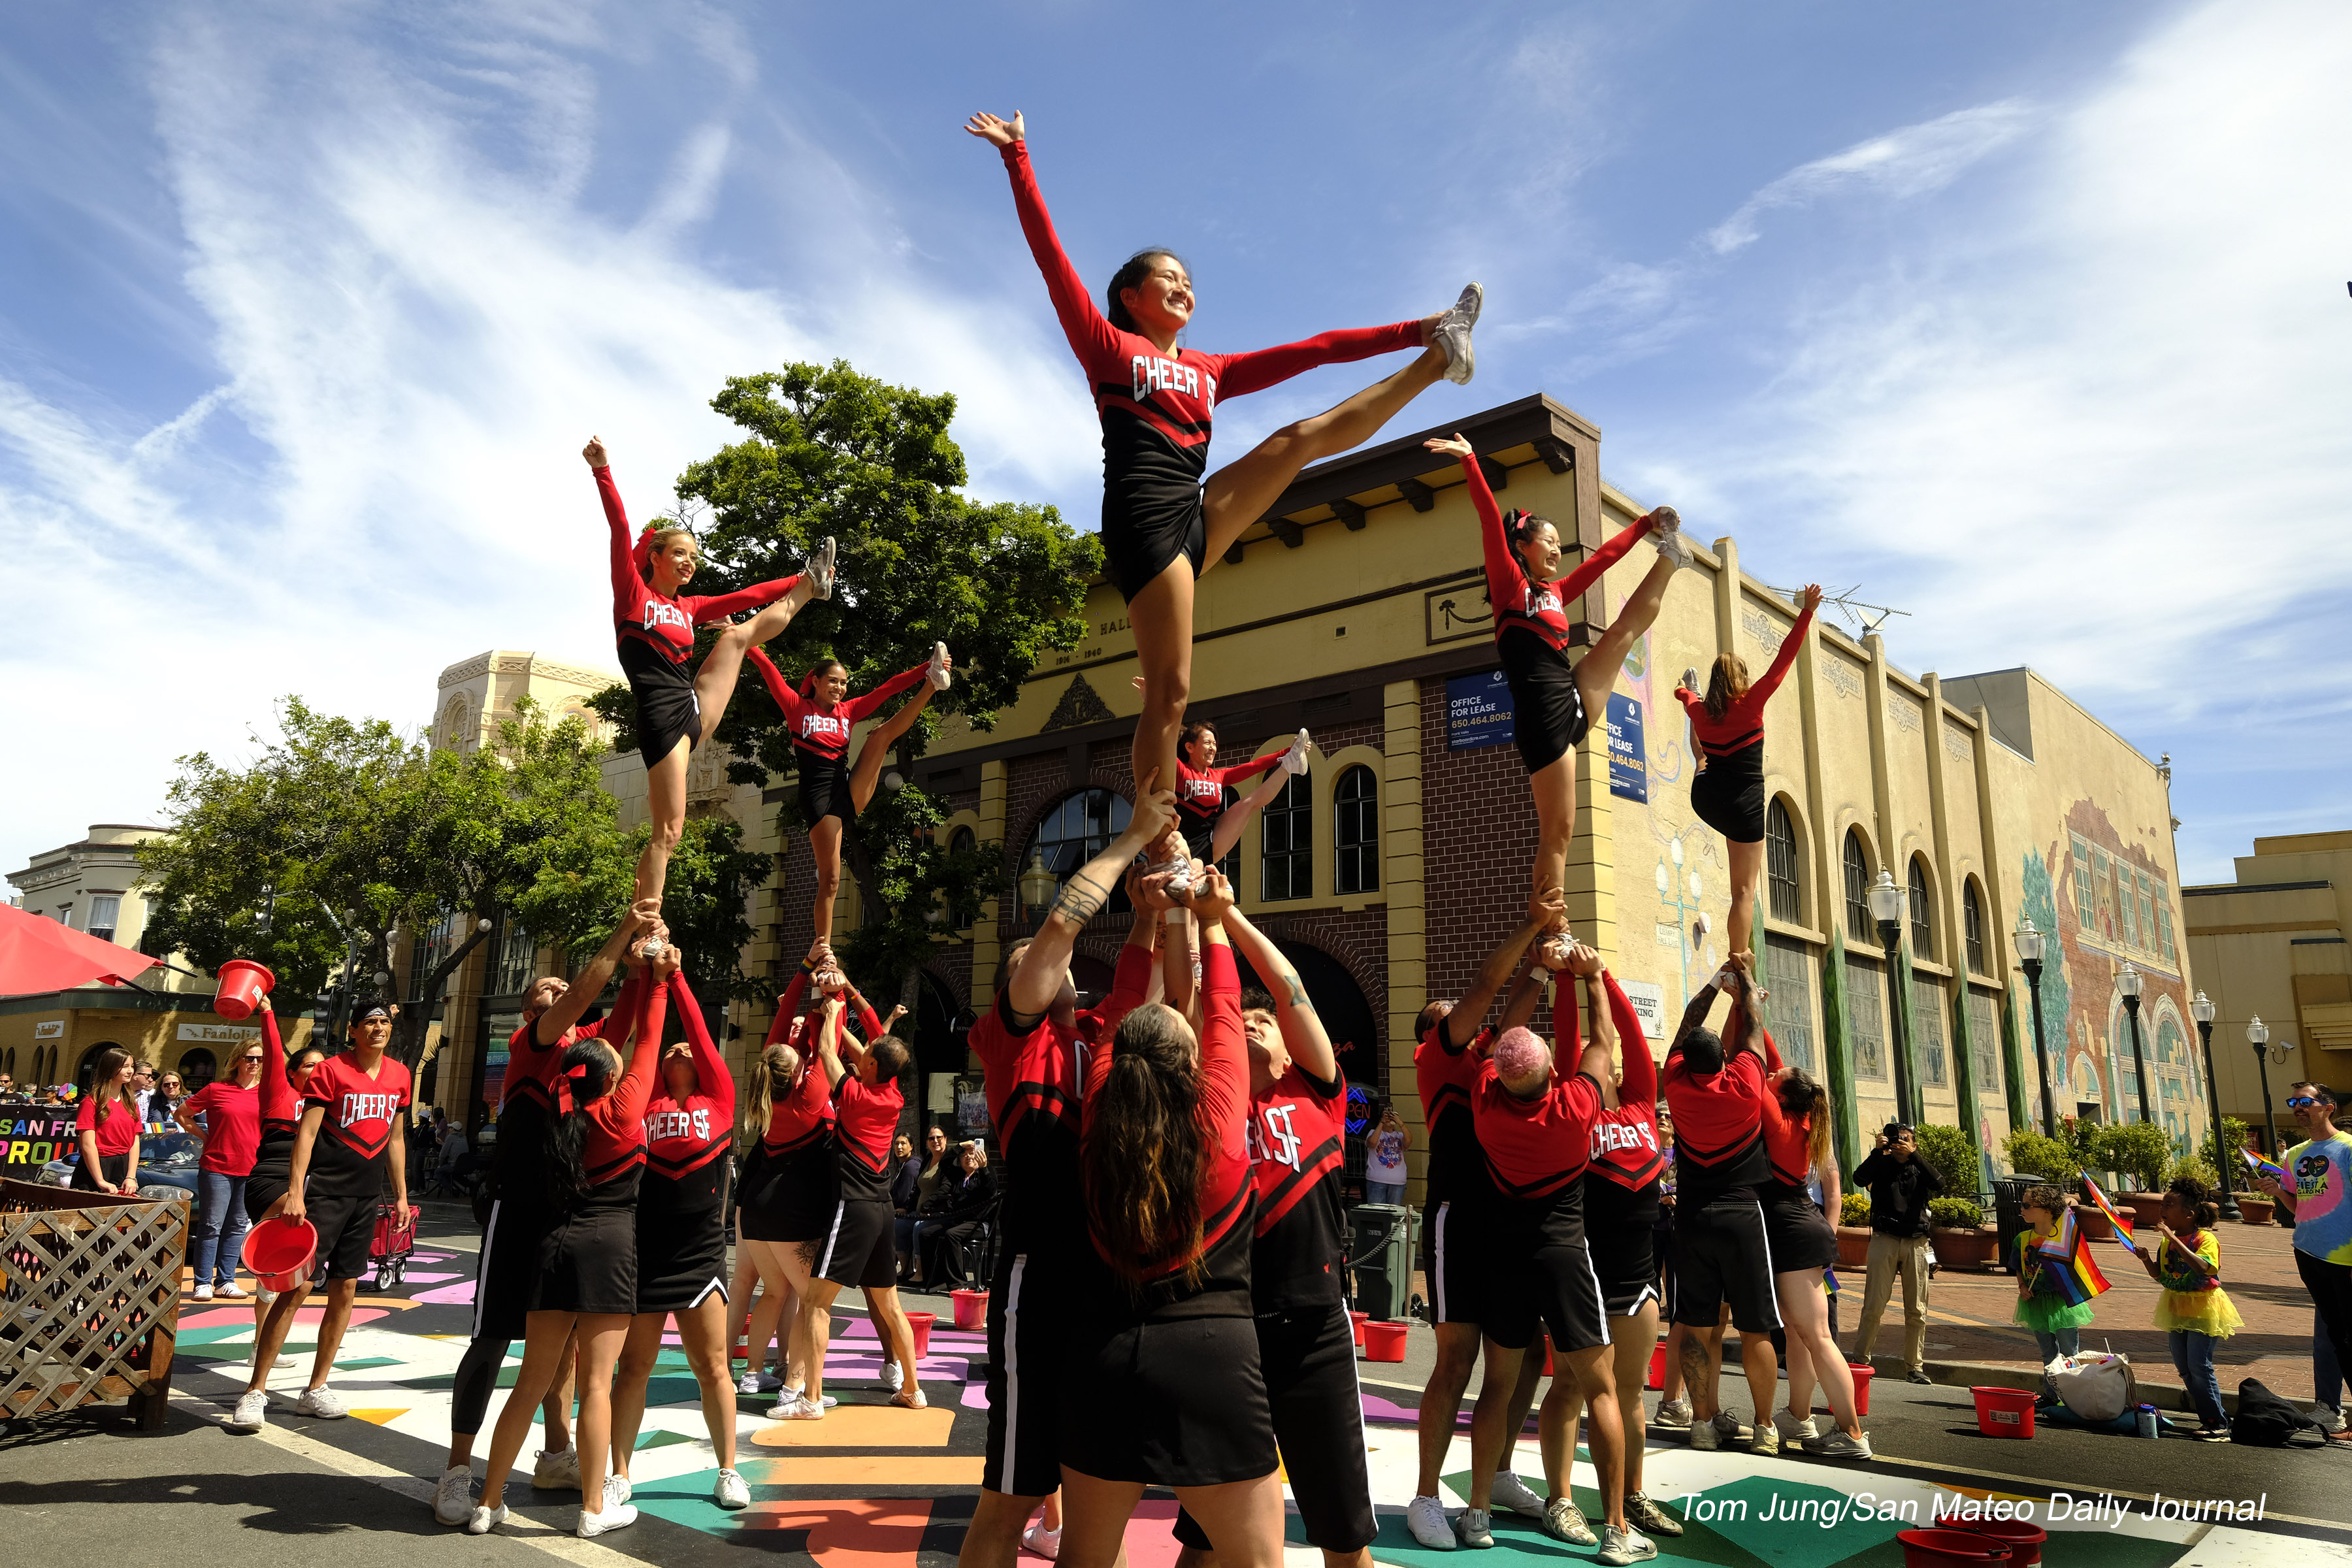 The Staging Area: The Pride Day Celebration is a "thing" in San Mateo. The last time I photographed it was in 2019. That photo featured the El Camino Reelers, a square-dancing club demonstrating some basic square dance moves during the main program in Central Park. This was the first time I photographed the parade itself. I arrived during the setup period before the parade, and was pleased to find the group Cheer SF practicing in the staging area on B Street.


