Sunday, June 30, 2024

Godox Lux Senior - Reprieve

Photo Source: Click here.
History Lesson: Most of you aren't old enough to remember the old fan folded flash guns that used miniature flash bulbs and were so popular before affordable, and portable, electronic flashes made their appearance. 

Here's a miniature flash gun of the type that was widely available to photographers since the  introduction of the AG-1 "peanut" flash bulb  in 1958. The Godox Lux Senior copied the fan-fold reflector whose petals can rotate and collapse into a more compact form factor. The bowl shape of the opened reflector allows light from the sides of the flashbulb to be redirected towards the subject in a larger pattern. Instead of a point light source, the reflector produces somewhat softer edges where the shadow meets the key light. It's a small improvement to be sure, but an improvement just the same.

Photo Source: Click here.
Prior to the introduction of the AG-1, flash bulbs were much larger in size. In fact the largest flash bulb that I know of was the GE 22, a bulb as large as a household light bulb. The "B" designation was used flashbulbs were covered with a blue film that gave a color temperature similar to sunlight for use with color films. 

The flash guns of the time were also fussy combinations of mechanical and electrical components. The flash bulb, filled with magnesium foil or fine filaments, would burn brightly when ignited by an electrical current provided by three C sized flashlight batteries. The batteries also powered a small solenoid to trigger the camera's shutter. 

Photo Source: Click here.
Flashbulbs: In this photo you can see the various flash bulb sizes. Across the top, you see a GE22B flashbulb with its threaded base. The two egg-shaped bulbs are a Westinghouse 6B and a GE 5, which are equipped with a bayonet base. The 6B (blue) bulb has been inserted into a screw adapter. Next are the three smaller bulbs, the Sylvania M3B, Sylvania M2, and the GE M2B, the ones I have used in those years before I transitioned to a Vivitar flash and a Pentax Spotmatic SLR. Finally, there is a Sylvania Flash Cube, which contained four AG-1 bulbs. When coupled with a Kodak Instamatic Camera, you could make four flash shots as quickly as you could advance the film.

Synchronization: Back in the day, attaching a flash gun to your camera was no simple matter. Before use, the flash gun's shutter solenoid would have to be adjusted to synchronized the tripping of the shutter with the peak output of the flashbulb. This was a trial and error process that required making several exposures at different apertures with the shutter set to a specific exposure duration and using a new bulb for each shot. Once achieved, the aperture, shutter speed, and film ISO rating would become the photographer's "go to" setting for using on specific flash bulb using one specific flash gun.

Photo Source: Click here.
Back To The Future (2024): I have been underwhelmed by my experiences with the
Godox Lux Senior Flash. I had high hopes for it when it was first introduced, but my optimism faded when the "non-TTL automated exposure" never worked properly. It was relegated to the Island Of Misfit Toys until the demands of several location assignments made me view the flash with new eyes.

Lately, I've been using a Fuji X-70 for low-angle outdoor shots in broad daylight. This little camera has both a rotating LCD panel to expand my viewing options, and a leaf shutter which allows me to synchronize my flash at 1/1000 of a second while using an ISO setting of 400 and an aperture setting of F 8.0. 

The camera, paired with a compact, low output flash could achieve balanced lighting when working in bright sunlight, so long as the flash-to-subject distances are under ten feet. I have used the FlashQ for short distances, and moved up to a Godox V1 when the distance increased. 

Between the power extremes presented by the FlashQ and the Godox V1 there must be some middle ground. The FlashQ is handy but limited in its output, and the Godox is big and bulky, and its control layout encourages the user to accidentally change the output settings. The flash has a "lock" feature, but it prevents any changes in either the exposure mode or output levels.

For a lark, I gave my Lux Senior a second chance. I had already given up on the non-TTL mode, but always liked the flash's ability to set the output manually from full to 1/64 power in one-stop steps. It has an internal battery that is charged using a USB port. Factory specifications, often inflated, list full-power recycle time as less than three seconds, and the enough battery capacity to make 550 full-output shots per charge. It also claims to provide lighting coverage similar to a 28mm lens, but I have found it observably more intense in the middle. For my purposes, this hasn't been a problem.
This flower pot was taken at night with the flash mounted on the camera at a distance of ten feet. At full power (left), it is definitely a little "hot", while the shot made at half power (center) appears just right. When used with a wireless flash trigger, it could potentially serve as a Key Light at distances up to fifteen feet away, but just barely.


First Sea Trial: These shots were made with the Lux Senior and a Pergear 10mm F 8.0 fisheye lens. The lens performs well, but I wish it had a distance scale, although a lens this wide has so much depth of field it pretty much renders everything in focus. The typical fisheye look is there if you look for it. but careful composition can minimize the visual discomfort. I had to improvise a bit since the camera, a Fuji X-S10, can only synchronize a flash properly at 1/250 of a second, but on one shot I bumped it to 1/320 and you couldn't tell.

I will conclude that the Lux Senior did a satisfactory job of selectively lighting these subjects, It is definitely a "salt to taste" proposition, since you can easily view the results on the LCD panel, adjust your exposure, and re-shoot. The flash's large rotating adjustment wheel was fairly easy to use with one  hand, and the flash wasn't susceptible to accidental changes. All I had to do was to remember that half-power at ten feet was a good exposure starting point, and five feet required rotating the dial to the eighth power setting. Pretty easy, and I still managed to get some very nice skies in the background.

I will be looking for better samples on a future morning walk.

Post Script: I need to remind myself that this particular flash was NOT designed to the same performance standards as a Nikon speedlight. If you remember to center the main subject in the frame, the Lux Senior's pronounced hotspot can be helpful. And in the digital world, follow-up shots can be made quickly should some adjustments be necessary. 

Monday, June 24, 2024

Juneteenth 2024


This was the first Juneteenth celebration I photographed for the Journal. In fact, I probably would have missed it were it not for an Email from the Editor In Chief asking if I planned on attending. As it turned out, there were celebrations in Millbrae, San Mateo, and Foster City, scheduled that day. Of all the shots I made that day, this one had the best sense of audience involvement, and was composed to include the greatest number of spectators. In many cases, these events are not as well attended as one might hope.

Buy yours here.
Flash Of The Day: Since I had my full kit, I used my more powerful Godox V1 instead of the tiny FlashQ unit. This gave me more reach, which I would need. and shorter recycle time, which are necessary when trying to catch some peak moment in the action. The camera was the X-70, the absolute go-to camera with its 28mm equivalent lens and 1/000 of a second flash synchronization speed. 

I used an inexpensive radio trigger I purchased on eBay many years ago. Similar units are still available for well around $15.00, and have proven reliable at short distances. They are a bit of cheap fun if you don't already own a set, and will provide you with a very useful off-camera lighting option. Also, the receiver (the part mounted on the flash) is powered by easily replaced AAA batteries, which will need replacing if you forget to turn it off. The transmitter requires a small, relatively expensive battery that seems to last forever.

In this pair of test shots, you can clearly see how effective this camera flash combination can be. The camera was held at waist level and the flash held high overhead. You can see that the white shirt is seriously overexposed, but the skin tones on my subject are "believable". 

This is how I might appear from the subject's point of view. First, you should get a good grip on the camera and adjust the LCD so it can be viewed from above. Next, you can concentrate on positioning the flash as near or far as you wish. In this case I have positioned the flash about two feet above the lens, something that would normally be impossible to do without a light stand. The lowered camera perspective allows you to include more sky in the photo, making the background less cluttered. Finally, the flash is positioned at the subject's eye level so that a nose shadow appears on the subject's upper lip. If the flash were on camera, there would be an unnatural highlight on the nostrils, which is the worst part of on-camera lighting from low angles. Incidentally, this is a simulation. No photographers were harmed in the making of this photo.

Godox Beam Angle: By narrowing the beam angle on the Godox, you can get a slight boost in output. It also helps control overexposure at the edges of the frame. With your margin of error so increased, keeping the flash pointed at the same "target" as the camera is essential. This requirement, plus access to a waist level perspective (via the tilting LCD) has resulted in an interesting tai-chi inspired approach to shooting. 


The camera and flash combination worked well (enough) in this environment. The extra power of the V1 was needed to get this shot, but without the X-70 's ability to synchronize the flash at 1/1000 of a second, the shot would have been nearly impossible. It did start me thinking about other ways to manage the shot without the use of that big, bulky Godox V1. A number of other flash options came to mind, and I thought hard about using my favorite Nikon SB-800, as it filled the bill nicely in the "ease of use" department. However, recycle time is something of an issue, especially with the distances that were sure to be involved. A flash that used AA batteries would be subject to longer recycle times, even when powered by rechargeable NiMH batteries. Certainly any of my big Godox/Flashpoint units would work, but they all share a physical interface that is too prone to accidental readjustment of the output level or exposure mode. Even my Vivitar 285 flashes received brief consideration. But I think I've found an alternative.

Stay tuned.

Monday, June 17, 2024

Selfie Scramble With A Side Of Flash

Cropped Image. 1/1000, F 16.0, ISO 400
My selfies are not a fan favorite. But there are three advantages to being your own subject:

  • Your subject is always on time,
  • Your subject never complains, and
  • Your subject never offers unsolicited suggestions.
These selfies were made from a base exposure of 1/1000 second, F 8.0, and and an ISO setting of 400. I used my tiny FlashQii, triggered with the dedicated wireless trigger. 

Cherubic: That's me. When you make a selfie from arm's length, you could experience some distortion due to foreshortening, that alteration of apparent relationships between near and far subjects. Ideally, the best distance between the photographer and the subject is three feet. This particular image was made at a distance of about eighteen inches, and then cropped to the desired framing. Shooting from a low angle creates its own set of perspective problems. However, this image was presented as an exercise in exposure control, which I'll cover later in this post. I will admit to using a fair amount of editing magic to produce this version.

Managing Backlight
: For these shots, the sun was at my back. To prevent lens flare, I position the camera so that the shadow from my head prevented any direct sunlight from entering the lens. This is easier in the early morning because the sun is lower on the horizon. I made this sample shot early in the afternoon when the sun was nearly overhead. As you can see, the shadow cast by my head completely covers the lens itself. And obviously, I would be looking directly into the lens.

Shots On The Fly: You may conclude that the adjustments may not appear logical. In retrospect, these adjustment were made on the fly, and sometimes two adjustments may cancel themselves out. It's simpler to remember that it's the final photo that counts, and that incremental changes will be made with whatever adjustments are available. There are some settings that have a "hard deck":
  • Exposure: 1/1000 of a second is the shortest setting that can capture the full output of the small flash I'm using. 1/2000 of a second results in "clipping" part of the flash discharge, resulting in less usable light illuminating your subject.
  • Aperture: F 16.0 is the smallest mechanical aperture available to most lenses. Manufactures know that small apertures decrease image sharpness due to diffraction. or the scattering of light as it turns the corner around the edge of the aperture blades. A built in neutral density filter might have helped, if my camera had one.
  • ISO: The lowest setting available to my Fuji bodies is ISO 100. 
1/1000, F 16.0, ISO 100

Full Tilt Boogie: This photo was made at the shortest possible exposure. By change the aperture to F 16, I reduced the aperture from F 8.0 to F 16.0, a net loss of two f-stops, or a reduction to one-quarter of my base exposure.  By dropping the ISO value from 400 to 100, I reduced the exposure by another two f-stops. This image is "straight out of camera" (SOOC), with no adjustments whatsoever. The sky is nearly black, as were the shadows cast on my face. This was the ultimate photographie de nuit, made at 8:18 am in the presence of a bright morning sun.

The exposure was made with the sun at my back and I positioned the camera so that the lens was completely shielded from the sun by the shadow of my head. That faint glow was probably from the scattering of light from the atmospheric moister. No dodging or burning, simply au natural.

1/500, F 16.0, ISO 100

This second shot was made after I made a one-stop adjustment to the exposure time. The sky is not as dark, while the flash exposure is pretty much the same. My face does appear brighter, but this could easily be due to a change in the Flash To Subject distance, as absolute consistency is difficult to maintain when you are both the model and the photographer. Being the good subject I didn't complain or offer any unsolicited suggestions.

The Finale: The photo at the top of this post was an attempt to use the sun as my backlight and light my face with a flash bounced off the wall of a white house. Bouncing a flash will usually result in a two to three stop reduction in flash output. I started out at full power and experienced some significantly longer recycle times. The flash batteries were getting a little tired, and I was getting some major underexposure until I realized that I wasn't waiting for the flash to re-charge to full power.

Uncropped Image
One helpful byproduct of bouncing my flash is the expanded surface area of the light source, resulting in soft-edged shadows and enormous catchlights. But there are limits to what you can accomplish in the selfie mode. First off, you are extremely limited to your light placement. You would have to be a contortionist to produce anything other than straight-on butterfly lighting (lighting where the nose shadow appears directly below the nose). If I had an assistant, or even a light stand, I could have been much more creative. Also, this is the best I could do, and from a lighting perspective, it isn't bad. The other problems resulting from the short working distances would be much harder to correct. so for this photo I must remain my smiling, cherubic self. This is the uncropped original.

I have an upcoming self-assignment where I'll be using this exact same camera and flash combination to capture some photographs of parade marchers getting ready to celebrate Gay Pride month in San Mateo. Along with the Fuji X-70 and the little Q20ii flash, I will carry my full kit in case I need a camera system with a little  more juice. We'll see how this all works out. Wish me luck.

Post Script: The parade didn't lend itself to the small camera approach. You can read about it here.

Monday, June 10, 2024

Pride Parade In San Mateo

The Staging Area: The Pride Day Celebration is a "thing" in San Mateo. The last time I photographed it was in  2019. That photo featured the El Camino Reelers, a square-dancing club demonstrating some basic square dance moves during the main program in Central Park. This was the first time I photographed the parade itself. I arrived during the setup period before the parade, and was pleased to find the group Cheer SF practicing in the staging area on B Street.

I had intended to refine my "up close" technique using my X-70 and a small FlashQii speedlight. I quickly realized that the little point-and-shoot couldn't keep up during these fast action sequences, so I abandoned the effort and went back to a X-T2 and the 10-24mm zoom lens. The flash was a shoe-mounted Godox V1, a flash with more power than the FlashQii and adjustable beam setting that allows me to concentrate the light into a narrower angle. The head was angled up slightly to reduce the light on the immediate foreground.

1/250 second, F 11.0, ISO 200

1/250 second, F 11.0, ISO 200
These are samples of when the foreground flash is correctly balanced with the sky. The background buildings are pretty much left to fend for themselves, illumination wise, and provide the necessary location context. Flash output was not recorded.
1/250 second, F 11.0, ISO 200
This shot was made at a greater distance, so I tilted the head up slightly, reduced the beam angle to 69 degrees, and set the output to Full. The lack of illumination around the center is apparent, but as a photo, it does emphasize the most interesting person in the group. However, she is too small to effectively draw the viewer's attention, so in that regard the image wasn't worth submitting. If she had her arms extended in a more interesting pose, it might have worked. With her arms tightly at her side, it doesn't.

At this point I was trying to get my subjects in motion during their performance, but I found that the recycle time of the flash, brief as it was, prevented me from making multiple exposure bursts, which would have given me a series of photos from which to choose.

Change In Tactics: As the cheer team began moving down B Street, I moved to a position slightly in front so I could shoot at a 45 degree angle. As it turned out, the sunlight would illuminate the group from a 45 degree angle, so they were front lit as they marched past. I turned the flash off, and set the camera to record using the Low Speed Burst setting, which was about 4 frames per second. I also set the camera for manual focusing and by using the Manual Focus Assist feature, I could choose exactly what portion of my subject would be in focus. This eliminated any possibility of delays caused by "focus seeking", and allowed me to concentrate on recording the moment of peak action. Exposure was set to Aperture Priority.

The march towards Central Park followed a specific sequence: march, set down red buckets, perform, ask for donations, repeat. I would move ahead of the group, and as soon as they put down their buckets, I would position myself and frame the shot. Then I would establish focus on the nearest subject and wait. When the performers were at the top of their lifts, I would fire a burst. Because the action ended so quickly, the bursts were seldom more than four shots.
These two shots were taken about a block apart. I submitted the second shot because my main subject was higher on the horizon and in sharp contrast to the blue sky.  Also, by touching her ankle, the performer's leg and arm created a "hole" which tends to draw the viewer's attention for just a moment longer.

I didn't realize that when I made the shot, all six cheerleaders were at the height of their lifts, and for the most part, are easy to count. I realize now that if I had crouched a little lower and positioned myself more the camera right, that elusive sixth cheerleader would have been a little easier to see. But I didn't have the opportunity in real time, and some of these fine points are hard to identify when you're worried about just getting up off your knees and moving to the next shooting position. I guess that's the challenge that keeps it all interesting.

Must have been a slow weekend. The photo ran on Page 1, right at the crease.


Friday, June 7, 2024

Downsizing A Camera Kit, Continued

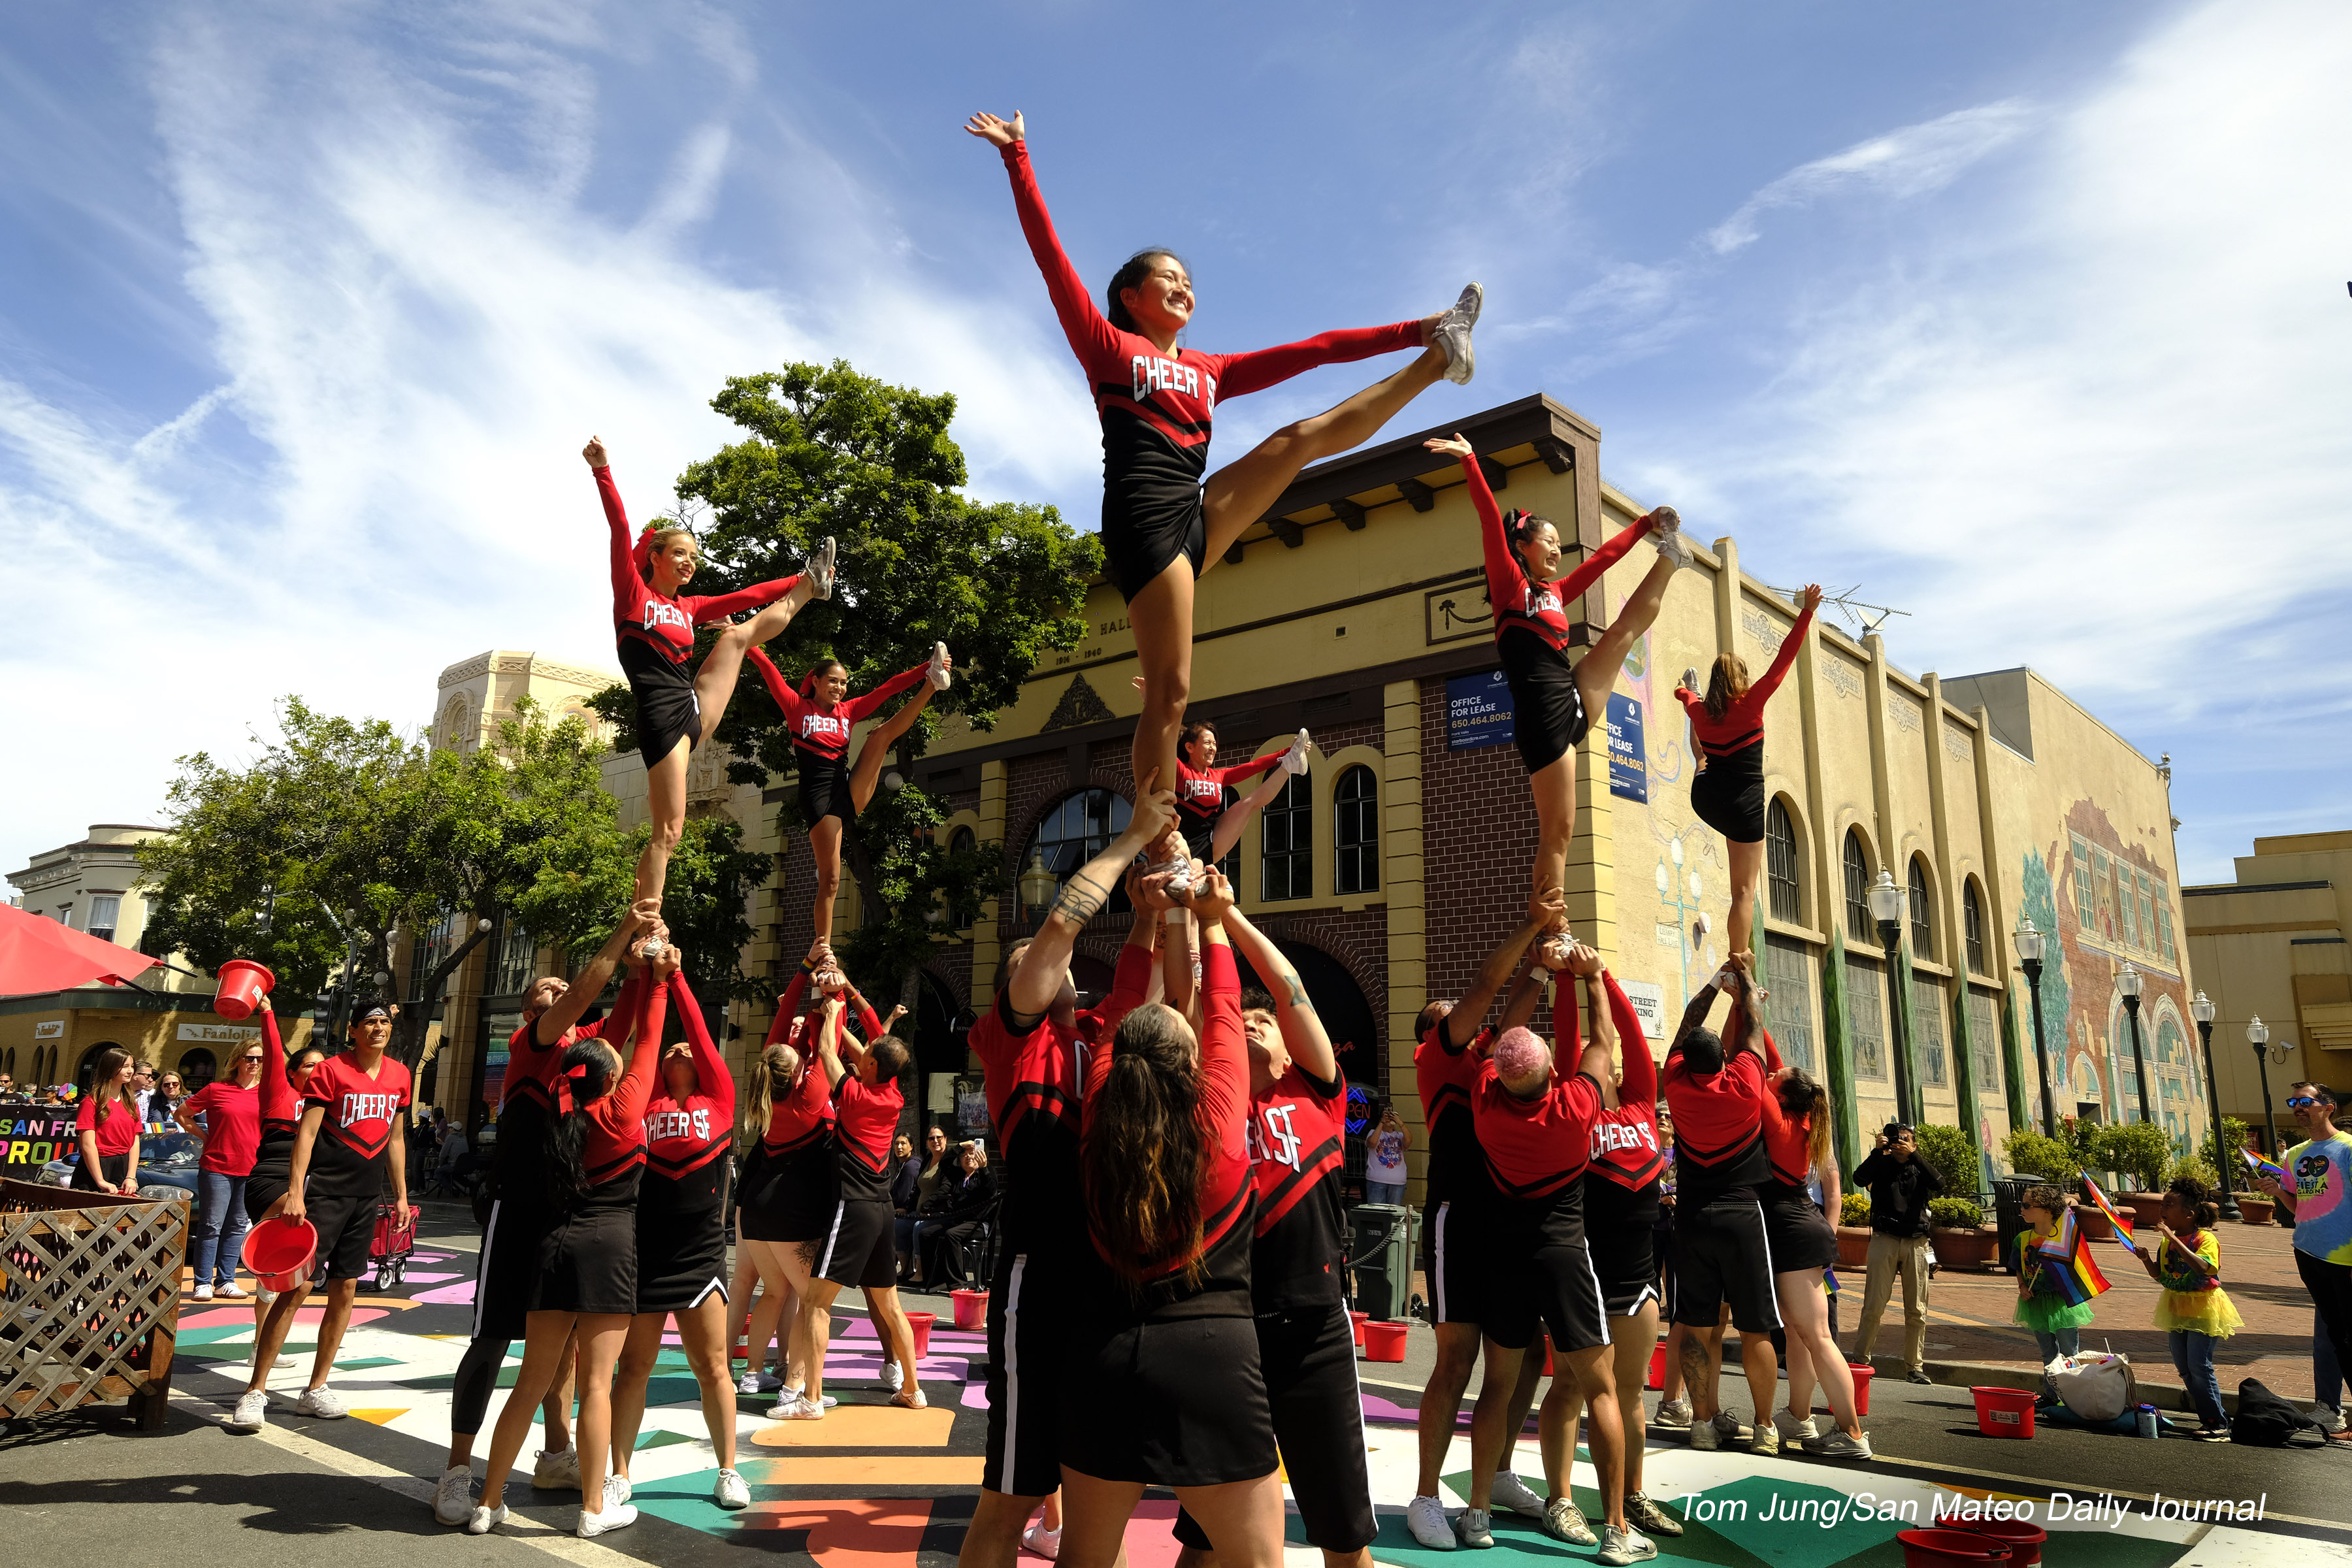
The combination of the Fuji X-70 and the Q20ii proved to be a useful pairing when I photographed Carnaval in San Francisco. The two bits of kit fit neatly into a fanny pack, along with some extra batteries for the camera and the flash. I will be looking for a compact selfie stick, preferably one that will fit in the pack, in case I need a little more height.

Key Light: For this shot, the flash serves as the key light. The flash was held high overhead to provide some modeling on my subject. The subject is backlit, and the costume completely blocks any sunlight from reaching the face and body.  The camera was at eye level, and the flash held overhead. Exposure was determned by trial and error.
1/1000 second, F 5.6, ISO 400, Cloudy White Balance
Simplified Guide Numbers: For the mathematically inclined, a Guide Number is assigned to a specific ISO sensitivity by the flash manufacturer. To determine the correct aperture, you would take the GN and divide it by the flash-to-subject distance. I decide to set the camera to the specific ISO / Shutter Speed / Aperture setting that will give me a proper exposure for the sky. For these trials, I choose ISO 400, 1/1000 of a second, and F 8.0 as my base exposure. Next, I stood ten feet from these Birds of Paradise flowers, and fired three shots: Full Power, Half Power, and Quarter Power. You can see the exposures here. In these samples the flowers receive no direct sunlight, although there is some illumination from the open sky.
From this tryptic you can see that at full power, the flash can barely achieve a proper exposure at ten feet. 
Moving up to five feet, you can see that at a quarter power, there's still plenty of light to achieve a good exposure. 

Starting Point: One can conclude from this simple test that at a 
Subject To Flash (STF) distance of ten feet and the output set to Full Power, there is barely enough light to provide a proper exposure. When one changes the STF distance to five feet, the quarter power output setting is more than enough, if not a bit too much. Now all of this can be influenced by a number of factors. First, the photos were made in an area where the "floor" was dark and non-reflective. Taken on a concrete sidewalk, the light reflecting from the ground will add to the exposure. second, the leaves were dark to begin with, so exposures of fair-complexioned subjects may be a bit overexposed. 

Output Control. On the Q20ii flash, output is adjusted by using an Increase and a Decrease button (lightened). The are easy to adjust by poking the desired button with my thumb, a quality shared with my gold standard Nikon SB-800. Now when I shoot, I adjust the output based on the STF distance, which is so much simpler.

Estimating Distance: Here are some simple methods for estimating distance:
  • If you hold out your arms along your left-to-right axis, the distance between your outstretched index finger tips will be equal to you height.
  • If you stand facing a wall and point your arm directly in front, the distance will be about 20% of your height.
Exposure Fine Tuning: Understand that when using a 28mm equivalent lens, I am working at relatively short distances. The upside is that small changes to the subject-to-flash distance can have a big effect on the exposure. Too bright? Hold the flash farther from the subject. Too dark? Move the flash closer. If you're using  mirrorless camera and preview the image immediately after you make the photo, you can fine tune your exposure without taking your eye from the camera. Just tell your subject that you're going to make three exposures, so they don't leave before your satisfied with the results.
Fuji X-70, 1/1000 second, F 8.0, ISO 400, supplemented by a FlashQii 
Fill LIght: As you can see from the samples, an STF distance of ten feet is barely enough to properly illuminate a subject when your flash is the primary light source. However, at distances between ten and fifteen feet a full-power blast can provide a satisfactory amount of fill under the proper circumstances. Here, this dancer was already illuminated by sunlight coming from on high and camera left. The flash added light to the sun's, while boosting the existing, open-sky fill light. The dancer stands out from the background because she's brighter, thanks to that bit of flash fill. Grab shots can be lucky accidents, but "opportunity favors the prepared mind," so if you have a basic lighting strategy, those "accidents" can, more often than not, give you some very pleasing results.

Useful Additions: Since Carnaval, I added a few things to this compact kit. First, I added a small notebook and a pen, just in case. I also added two white 6" ball bungee cords I purchased from Amazon. I bought a bag of 50, which might seem excessive, but allow me to discard them, without remorse,  if they start to get a little grody. Besides, this is Amazon, the Costco of on-line retailers. Of course you will be forced to  buy more than you could possibly use. 
Bungee Jumping: Here is the FlashQ mounted on a light pole using two six-inch ball bungee cords looped together to get some additional length. I mounted the flash mounted upside-down so I could tilt the head downward if I need to redirect the light.

I'll follow up with a few selfies that show some of the unique capabilities of this small camera and this smaller flash.