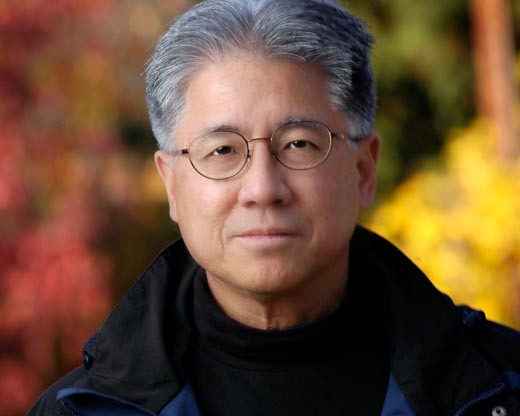
A simple assignment: Lester Chun, a music teacher in the Foster City School district for over 30 years, was about to receive an award from the Hillbarn Theatre for his dedication to music instruction. He is flanked by Lee Foster and Christine Krolik, the event's co-chairs.
When I arrived on location, I was immediately taken by the wonderful colonnade just outside the bar. Since the guest of honor had not yet arrived, I decided to see what I could do with the incandescent ambient lighting. I decided to start from the back and work forward. I made this first test shot with the daylight preset, F 4.0, 1/15, ISO 800.
When I arrived on location, I was immediately taken by the wonderful colonnade just outside the bar. Since the guest of honor had not yet arrived, I decided to see what I could do with the incandescent ambient lighting. I decided to start from the back and work forward. I made this first test shot with the daylight preset, F 4.0, 1/15, ISO 800.

The photo had a nice, warm feeling, but I wanted the subjects and the background to appear as the eye might see it. Since I planned on using flash, the two different color temperatures would certainly lead to some visual disconnect. So I chose the camera's standard Incandescent setting and re-shot the photograph. The results were pleasing and reasonably accurate. See below.

The next part was adding the artificial light. Since the ceiling was already dark, I decided to bounce a flash off the ceiling. This was done by placing a remote flash on the ground and aiming it upward at an angle. A used a blinder to shield the lens from the incoming light. I also installed a Nikon incandescent gel to better match the ambient lights. If you look closely, you can see the flash near the lower right hand corner of the doormat.
Lastly, I set up the main lighting. The simple setup included a light stand with a mounted Nikon SB-800 with a incandescent gel shot through a Zumbrella positioned high and at camera left. This gave a very wide, soft light, and have a very smooth transition from highlight to shadow. No additional fill was needed.
Immediately after I shot the photo for the paper (see top of post), I invited Mr. Chun's wife and daughter to join him.

A quick examination of the image showed the obvious glare on Mr. Chun's glasses. Also, there was a "hot" reflection of the Zumbrella in the background windows, a situation that could result in underexposed subjects. I was about to suggest some adjustments when I realized that dinner seating was beginning. If I wanted a wide shot that included the colonnade, I needed to start the change-over immediately.
Since the set-up had already been done for the first shot, it was a simple matter to change to my second camera body with a fast, wide angle lens already installed. Since I had already set both cameras to the same ISO, shutter speed and aperture, I simply removed the SB-900 commander from one camera and placed it on the other. This wider shot gave a better sense of the location and used the ceiling lines and pillars to frame the shot and draw the viewers attention to the main subjects. The ceiling "bounce" light rebounded off the tiled floor and produced a nice highlight just behind the subjects. And I made sure that the exact center of the photo was covered by Mr. Chun's body. This way the reflection would not be visible in the final photograph.

While it would not have met the content requirements of the paper, it is a pleasing family photograph taken on a very special evening.